Put a quote form on your store
Build a form, publish it, and put it on your store as a page, a product page button, or both, so requests arrive as leads instead of emails.
A form is how a request becomes something you can work on. Every send arrives under Leads with the answers and any files attached, instead of sitting in an inbox.
1. Build it
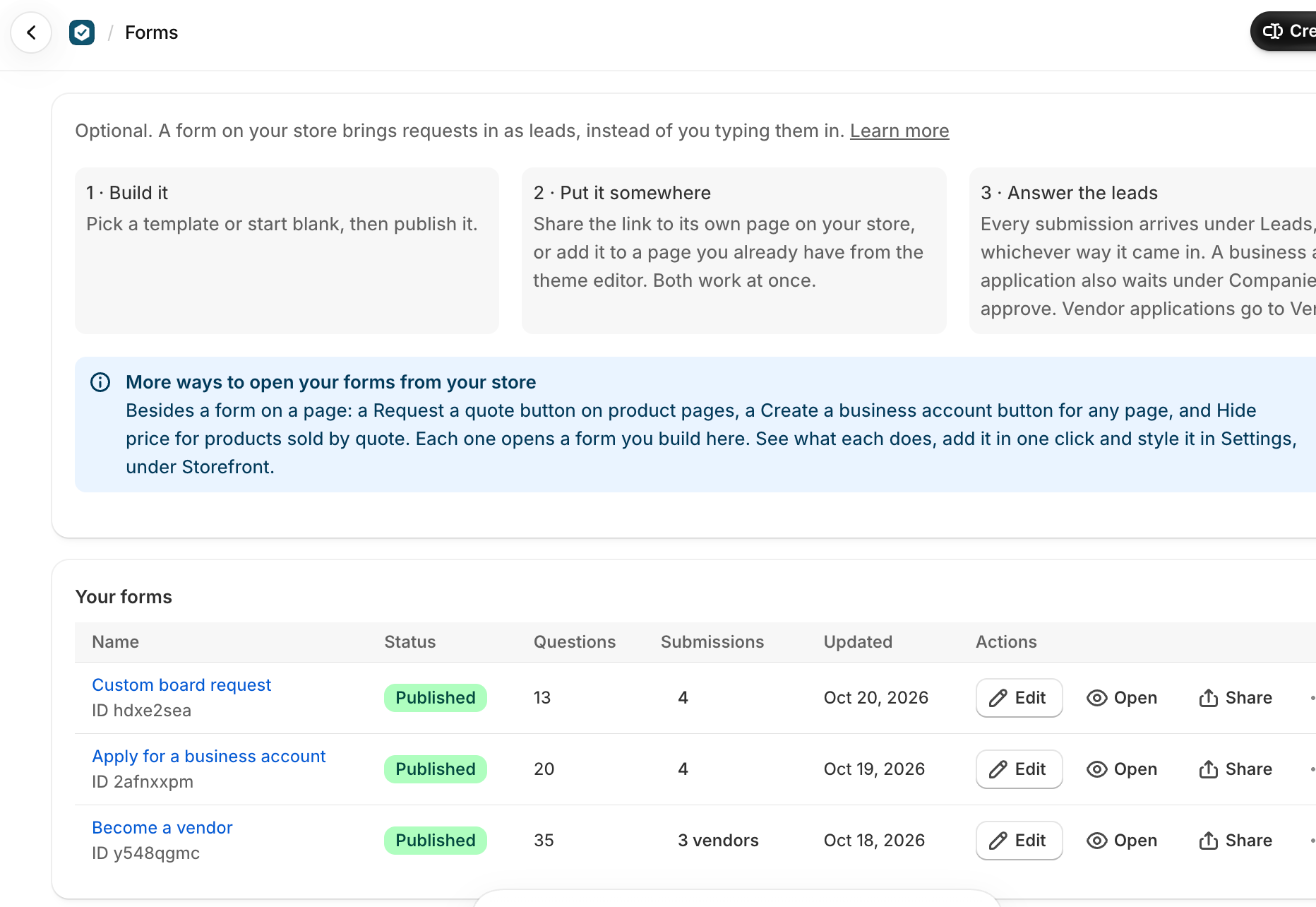
- In Forms, press Create form, pick a template and press Use this template.Mockup / quote request and Business account application are the two worth starting from.
- Change the questions on Questions and the colours on Look.
- Press Publish form.A form shows nothing at all on your store until it is published, and a button whose form is a draft hides itself.
2. Put it somewhere
A form has its own page on your store the moment it is published, and you can also place it on a page you already have. Both work at once.
- On the form's Share tab, press Add to theme.The theme editor opens with the form already in place.
- Press Save in the theme editor.
3. The other ways in
Settings, Storefront lists everything the app can add to your theme, each with a button that opens the theme editor with the block already placed.
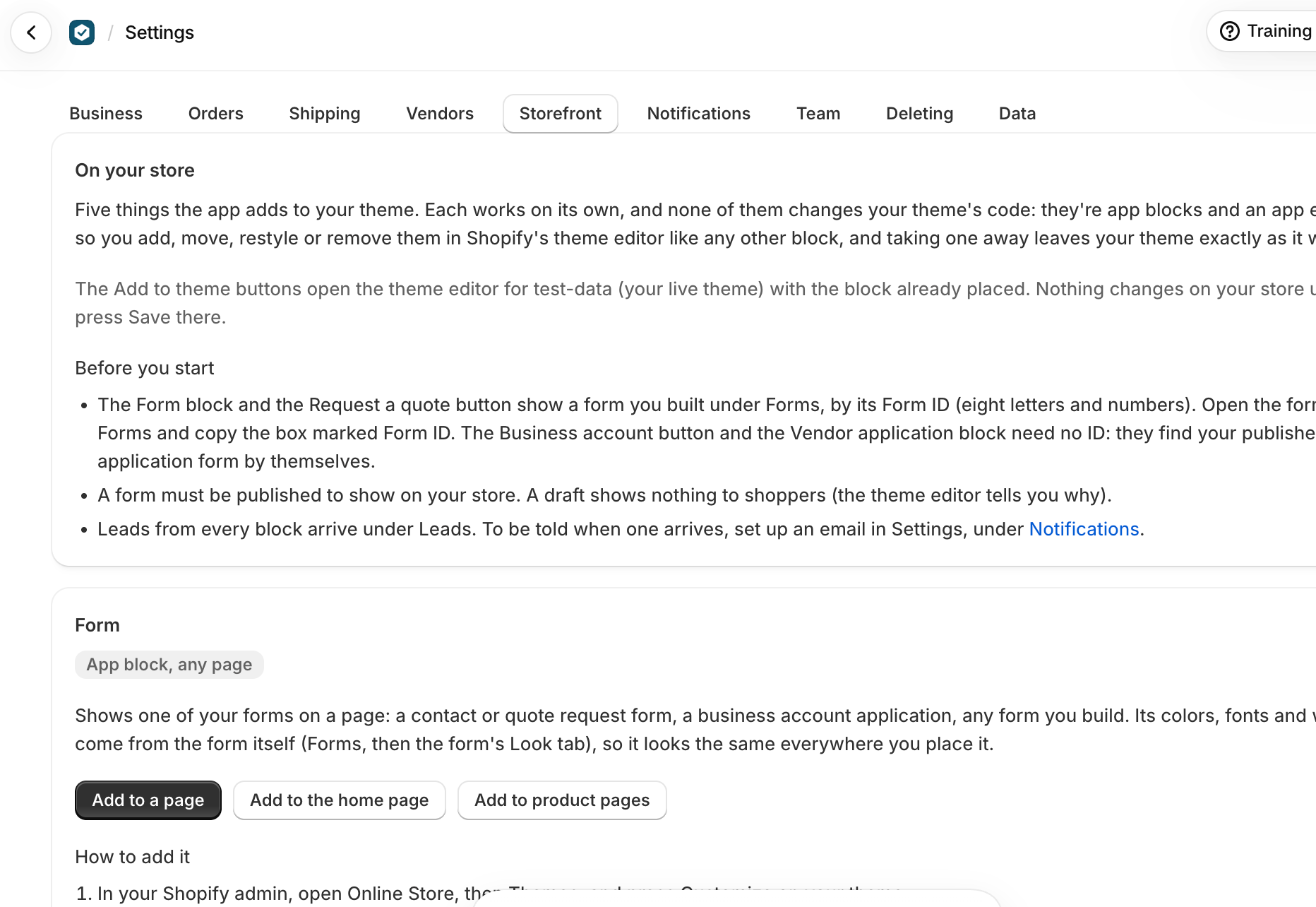
- Request a quote button on product pages. It fills in the product, variant, SKU, page link and price, as long as the form has Short text questions named Product, Variant, SKU, Product URL or Price, named before the form was first saved.
- Create a business account button, for wholesale applications.
- Vendor application block, for suppliers.
- Hide price, for products you only sell by quote.
Questions worth knowing about
A File upload question takes images, PDF, AI, EPS, PSD, Word, Excel, CSV, text, ZIP and MP4 or MOV, up to 20 MB each, and up to 10 files when you tick Allow multiple files. The files arrive with the lead and are kept in your store's Shopify Files.
Any question can be set to Only show this field conditionally, so the company questions appear only when someone says they are buying for a business.
Keeping junk out
- Tick Enable honeypot spam trap on the form's Settings step. Bots fill in a hidden field and are dropped quietly.
- One connection can send the same form 20 times an hour and 20 forms a minute, so a burst from one place is turned away.
- For a members-only form, tick Require the shopper to be logged in.
Those same limits catch you when you test a form over and over. If a test send does not arrive, wait a while or test from another device, then search Leads for the email you used.
What the shopper sees afterwards
The form's Success message, or the page you set as Redirect URL under After submit. The app does not email the shopper, so the reply comes from you.
What trips people up
- Changes in the theme editor only show after Save in the theme editor.
- The quote button fills in the product only when the form has Short text questions named Product, Variant, SKU, Product URL or Price, named before the form was first saved.
- Retired forms show nothing on your store. Their leads stay in Leads.
Check you have it
You added the form block, but the page shows nothing. What do you check first?
That the form is published (Publish form), and that you pressed Save in the theme editor.
Short answers on this
- How do I put a form on my store?
- My form doesn't show on my store.
- How do I add the Request a quote button?
- How do I hide prices on quote-only products?
- Can shoppers send files, like a logo or artwork?
- Can a question show only for some answers?
- What does a shopper see after sending a form?
- How do I keep spam out?
- I tested my form, and some sends didn't arrive.
- How do businesses apply for a wholesale account?
Read next
- Take wholesale applications and approve companiesLet a business apply from your store, check them, and turn them into a Shopify B2B company that can order on terms.
- Build an order from scratchFrom pressing New order to a page your customer can approve: the company and buyer, the items, shipping, tax and payment terms.